Tabs

Sunday, January 30, 2011

Stamping Bella Card Share Part 1

Hey all... it's an absolutely beautiful day here in sunny NC!! I was sitting outside on the deck and actually had to come in because I was getting too hot out there in my shorts & tee shirt! Summer's a coming! I look forward to when I can get my hands in the dirt to plant my veggies. That means a summer filled with eating out of the garden. Love it!

Today's share is from Stamping Bella. I LOVE LOVE LOVE these stamps. I have been buying SB stamps way back when they only had a few dozen images and I owned practically all of them! Now, they have stamps available by so many wonderful artists like Christy Croll, Mo Manning, Chichiboulie, and Lori Boyd to name a few. I have several of pretty cards I've made so I'm splitting the post into 2 parts.

As always, recipes will be updated when I get to and find my written recipes. Hope you enjoy!


Supplies: stamps - Stamping Bella Minty Wreath & Holiday Wishes; c/s - unknown c/s & pp (but I think the pp is from Hobby Lobby); AMuse black dye ink pad; Copic markers & Spica pens; Spellbinders regular & scalloped circles; white gel pen; misc ribbon; pop dots; glue dots.


Supplies: stamps - Stamping Bella Pia Puddingtop & Holiday Wishes; c/s - unknown c/s & pp; AMuse black dye ink pad; Copic markers & Spcia pens; Spellbinders regular & scalloped ovals; Martha Stewart red craft seam binding; white gel pen; pop dots; glue dots.


Supplies: stamps - Stamping Bella Chefabella; c/s - unknown c/s & pp; AMuse black dye ink pad; Copic markers, paper & Spica pens; photo corner punch; glitter glue; Bella's baubles; silk leaf; pop dots; glue dots.


That's it for today. Hope you all have a wonderful weekend. For those of us in the southern states, not bogged down by all the snow and everything yucky that goes with snow, have a sunny afternoon!

Happy stamping til the next time!

Thursday, January 27, 2011

Elzybells Card Share

Today's cards are from Elyzbells which is no longer in business. The owner, Elizabeth, is working with Penny Black from what I understand. I think it's a good fit because I really liked these stamps and I love love love Penny Black! Supplies will be updated when I find the recipes.

I loved making this card after I saw something similar to it on the cover of CardMaker magazine. Since I didn't have enough of the background paper left from Memory Box, I used stamps to create a background that looked almost exactly like the actual pp.

Supplies: Elyzbells, AMuse & Memory Box stamps, Memory Box & misc c/s, white gel pen, Bazzill flowers, Spellbinders scalloped & regular ovals, Copic markers, brads, glue dots, pop dots


Supplies: Elyzbells stamp, Cuttlebug embossing folder, misc c/s, Martha Stewart craft seam binding, Spellbinders scalloped & regular circles, glue dots, pop dots


I'm looking forward to seeing how well "Elyzbells" meshes with Penny Black. Some stamps may already be out, but I'm not sure since I haven't had the chance to go online and look at the catalog. Although speaking of catalogs, the new Hero Arts catalog is something I will have to spend time drooling over! I love those stamps too! I guess I just love lots of different companies! :-)

Happy stamping til the next time!

Wednesday, January 26, 2011

AMuse Card Share

Today's share will be some cards I made using AMuse Artstamps. I especially like AMuse even though the stamps are very small and a bit more can go into making the cards. The images are super cute! When, and if, I find the recipes, I will update the supply lists.


Supplies: AMuse stamps (on card), SU! stamps (on envie), Amuse & Memory Box c/s, Marvey rectangle punch, tiny pumpkin punch from Michaels


Supplies: AMuse stamps, AMuse & Memory Box c/s, Copic markers, Spica pens, Martha Stewart border punch, AMuse sheer ribbon


Supplies: AMuse stamps, AMuse & Bazzill c/s, Copic markers


Supplies: AMuse & Printworks stamps, unknown pp, SU! wide oval punch, Spellbinders scalloped oval, corner rounder, misc ribbon


Supplies: AMuse stamps, Memory Box & SU! c/s, AMuse ribbon, Copic markers, dimensional glaze, white gel pen, AMuse ribbon, pop dots, Prima flowers, circle punches


Supplies: AMuse & Savvy or Impress stamps, misc c/s, Stardream gold c/s, Cuttlebug embossing folder, Copic markers, Spica pens, misc ribbon


Hope you liked these cards. I enjoyed making them!

Happy stamping til the next time!

Friday, January 21, 2011

Unity Stamps Card Share

Hey all... back again so soon... Have to go to the doctor's today. As I said in my last blog post, I've been sick with "something" for 3 months now. I am sick of being sick and ready to move on to feeling better and getting some stuff done around the house and with this blog! I'm totally hoping this is just allergies that have kicked my butt, but I'm going to find out one way or another.

I'm going to spend the next few days showcasing cards I've worked on by company. The first company will be Unity Stamps using their Kit of the Month Club for Thanksgiving & Christmas. These really turned out so cute and the coloring is prettier in person than the pic, but you'll get the idea. If I can find the recipes for these cards, I will edit the post later with more details.


Supplies - Unity Stamps KOM; Hobby Lobby cardstock & scrapbook paper; Copics; Spica pens; ribbon from Michael's or ACMoore


This next card was inspired by paper I got in a pack from Papertry Ink. I couldn't wait to use it with this turkey when I got it (the turkey). :-)


Supplies - stamps: Unity Stamps KOM & ?; unknown cardstock, Papertry Ink pp; Copics; Spica pens; unk ribbon; photo corners punch; copper brad.


Well, that's it for today. Hope you enjoyed these cards, I especially had fun with the turkey. He's too darn cute!


Happy stamping til the next time!

Thursday, January 20, 2011

Stamp Store Traveling - The Queen's Ink

This post was saved in draft form from early October. As I have been sick since then, I let the blog go to the wayside. But now I'm back with lots to share!! While I have been sick, I have also been making cards like crazy! So many cards that I'm going to have to figure out how to link a photo album to this blog because it would take me too many hours to post them with details. Anyway, enjoy my review on Queen's Ink. I love this store and would recommend to anyone who is traveling to spend the day in Historic Savage Mill; it's unique and has a lot to offer.

I love being able to plan stops at various stamp and scrapbook stores while travelling. I took my first trip up north for the first time in 2 years in late September. The driving was slow going with lots of stops due to the back, but I made the best of it and got a few nice stops in.

On the way up, I got to make an extra long stop at The Queen's Ink in Savage, MD. I had been to the store before, but it was several years ago when they were in another town a bit closer to my family in Clinton, MD. The store was also much smaller than it is now. They are located in Historic Savage Mill which is a very unique shopping area as it seemed to me there were many shops that were artisan related in one way or another.

The shop was a lot of fun, I took bunches of pictures, and got to talk to the owner (who was wearing the crown in honor of her birthday), and one of the workers who was there that day. The Queen's Ink carries tons of different stamp companies and has so many samples of simplistic stamping as well as altered art style stamping. Lots to keep one busy for more hours than I was there! Here is a link to her website: http://www.queensink.com.

My favorite find in The Queen's Ink was a trio of Design Originals books for Zentangling. I got Zentangle Basics, Zentangle 3 and Totally Tangled. If you aren't familiar with it, Zentangle is a form of doodling. There's a whole system to how it's done, but by "sectioning" off your paper, you create repetative patterns within those sections that ultimately give you a completed project. It is really neat, addictive and yet creativity at it's simplest. Google the word and you will find all kinds of websites to help you learn this technique. The owner recently completed the Master Zentangle course. Give her a call at 301-497-9449 if you would like to get supplies, books, or sign up for classes at the store. To see a couple of samples of Zentangling, click on the Classes tab, click on a month, then click on any of the Zentangle classes, and scroll down to see the the samples. The best part of this hobby is that you could travel with all your Zentangle supplies in a pencil box! Finally, hubby won't complain about dragging tons of stuff when we travel that he claims I won't/don't work on. I do... he just doesn't realize I do. :-)

I leave you with The Queen's Ink "Q." This picture turned out pretty good, but it looks much "richer" in person. I think it's poymer clay, but not sure and it's BIG. Not gigantic, just big. Very pretty though and befitting of this "Queenly" store.

Happy stamping til the next time!

Wednesday, October 27, 2010

Halloween Goodies

Finished up my Halloween goodies this morning, but just couldn't get my butt out of the house today. The phone didn't stop ringing! Sometimes, you just have to go with the flow 'cause it was one of those days... So, tomorrow I will be out and about with my goodie basket. Yum!

This treat bag was made using Witch Way to the Treats by JustRite Stamps. Such a cute set with 10 centers and borders. The only coloring I did was on the topper with an orange marker and then I went over it a bit with an orange Spica. Since the ribbons are satiny, sheer and have a bit of metallic threading, the Spica was the perfect way to give it that finishing touch of sparkle. To compensate for the little bit of room left above the treats, which are mini peppermint patties, I ended up using some text weight paper and lightweight cardstock to make my own filler. Can't say I'd be too anxious to do that again! :-)

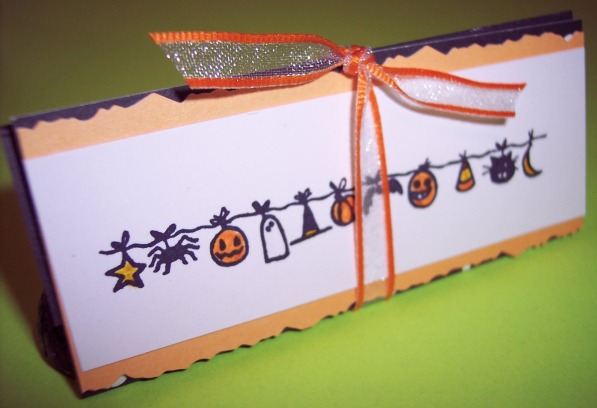
This treat is actually a tent style treat holder that I saw somewhere last year. I used an AMuse Halloween stamp (can't think of what it's called and I've misplaced it for now). The stamp is neat because it has so many cool little things hanging from the line. Love using it! I also used my orange, yellow, black, and clear Spicas to color in the images so the sparkliness (is that even a word??) matches the treat bags.

Last year I found a nice back and orange basket at Hobby Lobby that I decorated for Halloween to display my cards. This year I put the all the goodies along with my cards and an adorable little Halloween teddy in the basket. It turned out so cute! I had so much fun pulling everything together and setting up the basket perfectly. You can't tell, but underneath everything is filler that I ended up dying with reinkers to match the colors used throughout the basket. As the basket empties out the filler will be seen but blend in with everything else.

Next up... Thanksgiving and Christmas. Is it that time already? I am ready to get started on making these cards. I've already made my first Thanksgiving card. You're going to have to wait for that share on another day, but I know you'll like it!

Happy stamping til the next time!

Monday, October 25, 2010

Playing Catch-Up

As you can tell, I haven't posted as I thought I would be able to do, but I have good excuses!! Really, I do... I had such a busy busy summer straight through to the 2nd week of October. Now it's time to get back to business! I will try to catch-up on everything I've neglected through the summer. I promise...

Convention Haul Part 2

I was so darned excited when I saw all these little gems and pearls! They were a total steal! I don't remember what booth this was but everything on the one side of the booth was $1. I did as well as I would have in ACMoore or Michaels and better! I love using these embellishments. They really add the perfect touch to your handmade cards. I have bunches of these that I've been collecting and have them stored by color in this carry thingy I have; I'll take pics because it's stored so neatly, I have no problem getting the tiniest gem/pearl any time I need it.

Tessler Stamps (I think they're called although they seem to really be more about stencils) were the only ones at the convention that carried Copic Various Inks. Since I have been in desparate need for some time now, I took the plunge and bought several bottles. I still need a few more bottles, but I'm going to try and order 5-6 a month and eventually I'll have them all. Speaking of having them all, I only need 17 more Copics and I've got all the markers!! The missing colors are in the grays, which I will get because I notice how differently I am using the various gray families.

If you haven't tried the Copics, it is a must. They are alcohol based markers that are so different from your standard markers. Ranger & ProMarkers are also alcohol based, but the Ranger marker is huge and the ProMarkers don't have as many colors... although I would be interested in seeing how many colors they have that would fill in some of the Copic "gaps."

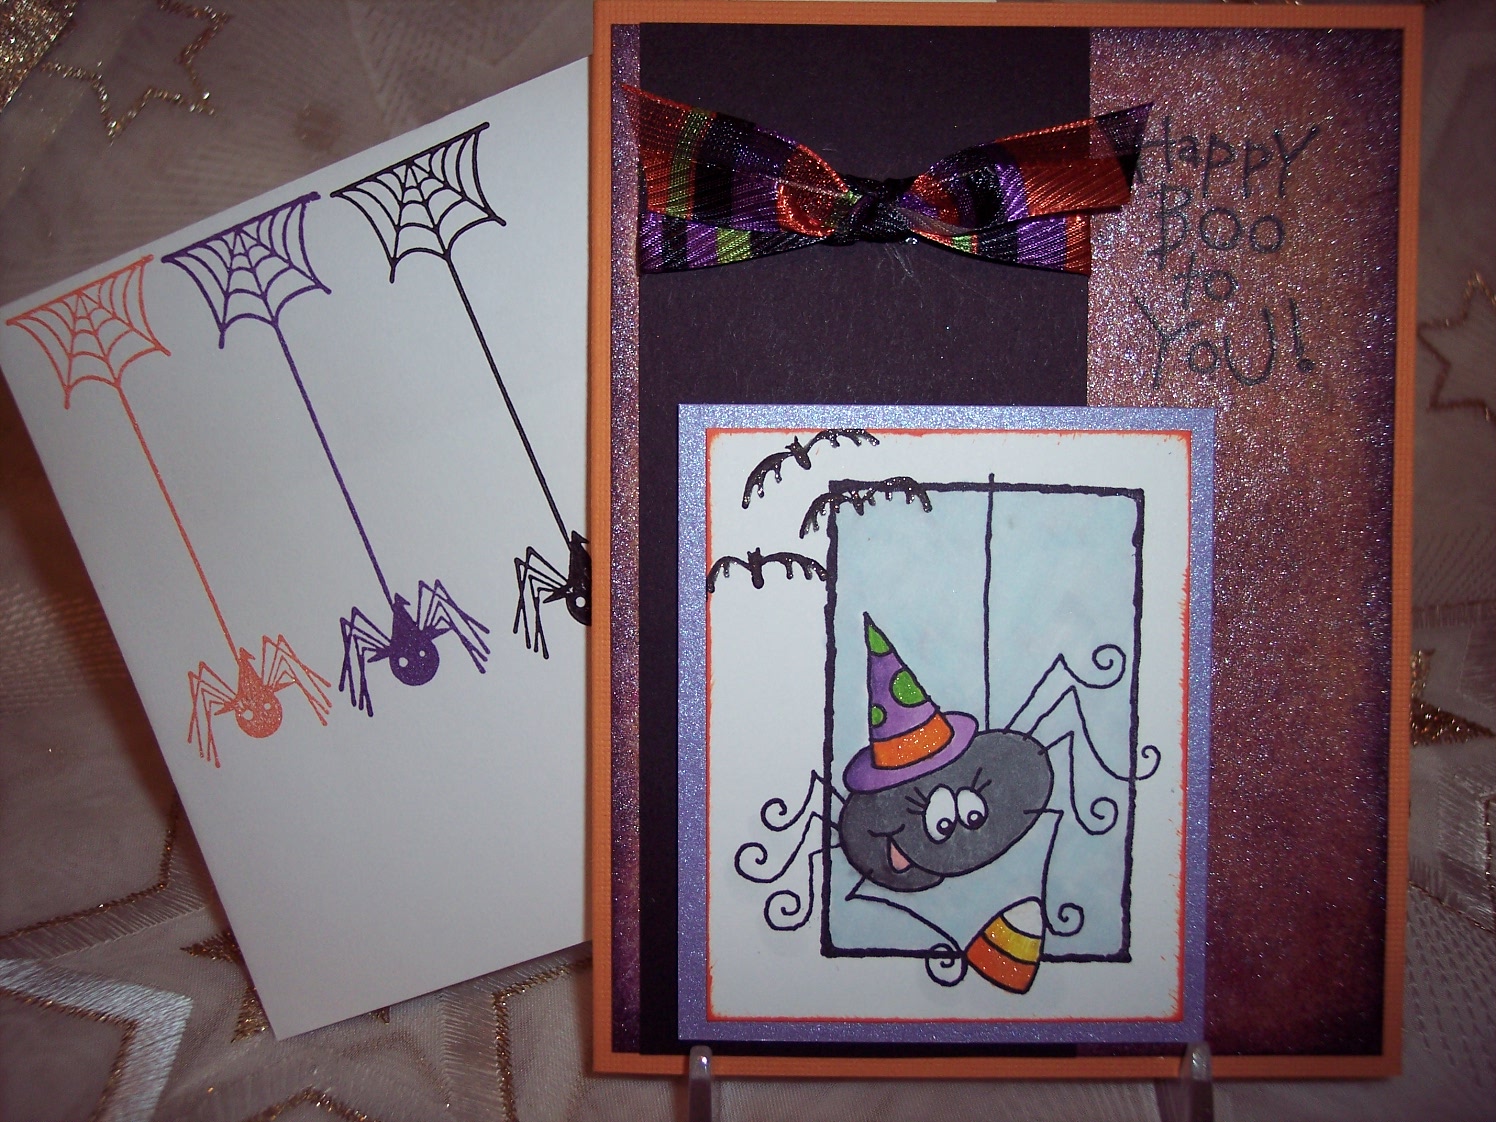
This was one item I had not counted on getting at the convention. However, they do those darn demos for a reason! I got all these bottles and believe it or not, I have colors I still need. I was making a Halloween card 2 days ago and really wanted a more plumy spray and an orange spray. Somehow, I have no orange. Or red. How can I still need more?? Talk about annoying... especially when you're in the middle of a project! I have to work on filling in those missing colors at some point. The colors are so pretty! I have enjoyed using them, which has been in full force where the whole background was covered and sparsely for a more delicate look. The Halloween card I did will be posted below; it's the one with the Stampendous spider with candy corn. Too cute!

Halloween Cards

I'm not super big on Halloween and only 1 person I know is, but I still wanted to make some cards this year. Here are a few that I finished up with this past week. The first 4 card pics were made with a SU! set that is discontinued. Don't ask what it is because I don't have it and stamped those images about a year ago. :-( It's probably my favorite one and I didn't buy it before it went out! This set is especially nice because it's more cute than scary. Living in the south, most people don't like anything having to do with scary Halloween; they like cute and cuddle Halloween. :-) Just like me! hehe


This vampire card was fun because I stamped a hanging spider inside and gave him googly eyes. Someone will have a little surprise when they open this one!


I have to say that I am really liking the Stampendous cling stamps. Anything to save some room!! The stamps on the envie are just $1 stamps from Michaels. So, this is the card the got the full spray for a background. I really didn't know what my plan was, I just started spraying until I liked it, which is how I also figured out that I needed a few more colors. LOL Hmmm, I bet if I ask hubby, he will think I don't need a single thing. I do have to laugh about this though because my hubby thinks I truly have every single stamp and supply that is out there to have. I told him I can make that come true if he doesn't stop saying that! Boy would that be mean! I need to be nice... he's making dinner tonight. Maybe I'll make brownies... it's raining and feels like a brownies with ice cream for dessert night. Just what my waistline needs!

Anyway, that's it for now. Stay tuned because I have another couple of posts coming out this week. My computer shut down in the middle of me posting (for an update) so I decided to work on a couple of goodie projects for Halloween. I'll share later.

Happy stamping til the next time!